Project 2
Project 2: Theme Scene-Based Modeling
The theme scene-based model I decided to is Sci-Fi.
Sketchfab: https://sketchfab.com/3d-models/project-2-scene-based-modelling-1548f30dd4c14af8ac68b2cf1f0e000e
Reference Photo

Below shows the process of how I made the model.
Blocking Phase
In Figure 1, the first step of the project is by adding the basic shapes. I added a few cubes and plane. The floor was separated by multiple loop cuts to make the gridded shape floor.

Figure 1: Added mesh objects
Figure 2 shows how I beveled the cube objects and then applying the boolean modifier as difference to cut out the door entrance of the cube object.

Figure 2: Beveled shapes and Boolean modifier
As I noticed from the previous photo the shapes of the overall look is too big compared to the reference photo so I resized the floor to become smaller and then objects to become bigger and taller. I also loop cut the door to add the lining around the door and loop cut the top half of the other door and grabbing the vertices moving downwards.

Figure 3: Resizing
Modeling Phase
I adjusted the wall by adding loop cuts and then moving the right side of the vertices outwards and then extruding the left side of the wall.
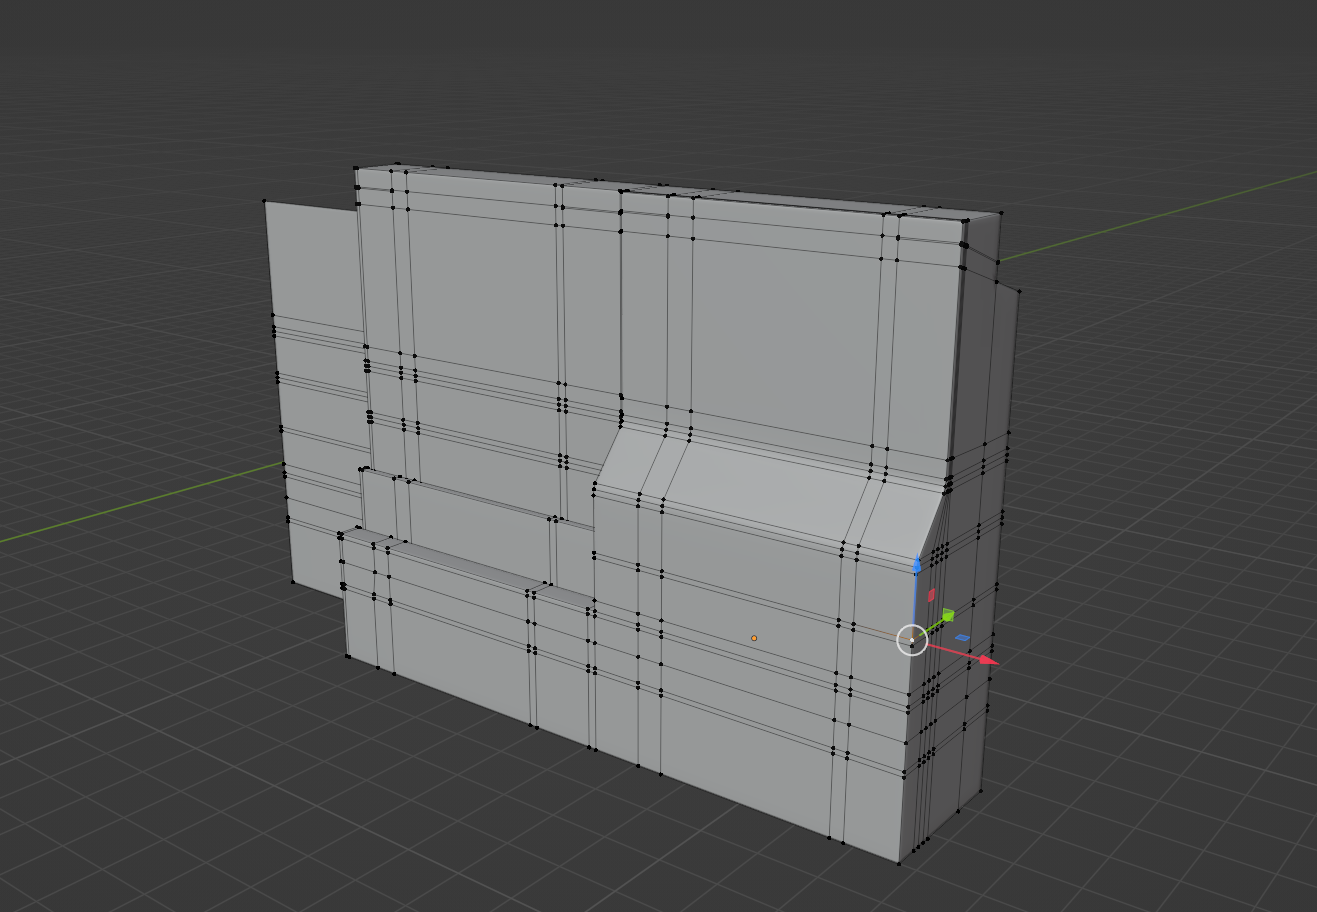
Figure 4: Making the wall
I use inset on the top half of the wall and doing it multiple times to give the effect that the wall is moving inwards with gradual depth.

Figure 5: Inset
The wall was then combined along with the other objects of the room and resize accordingly to the shape of the room.

Figure 6: Wall added to the room
I then start to adjust the shape of the bed. I added loop cuts around the bed and then deleted the rectangular shape of the top half of the bed then extruding the vertices downwards then adding the face back again by pressing 'F'. I did the same thing on the bottom right half of the bed.

Figure 7: Making the bed
As Figure 8, I extended the left part of the bed and adjusting the vertices gradually as it goes downwards. Then adding the inwards shapes by doing the same thing previously on Figure 7.

Figure 8: Adjusting the bed
I added the small detailing on the wall as shown on the reference photo by adding a planes and then also used the modifier Array for the planes located behind the bed frame. I used array to make smaller rectangular shapes on the wall to make the vents.

Figure 9: Adding wall detailing
Lastly, on the modeling phase I added the room detailing such as the kitchen counter, leaves on the wall, books, boxes, television and other small objects by simply modifying shapes of cubes and cylinders.

Figure 10: Adding room detailing
UV Phase
During this phase, I look into the UV of each mesh to particularly assign them for an empty material
so it is easier to apply texture and color for each object.

Figure 11: UV each mesh
Texturing Phase
For texturing, I apply materials to the smaller objects first to match with the reference photo. I use different colors for the books and the bottles in the kitchen. The rest of the objects were assigned with one color.

Figure 11: Adding color materials to the smaller details
Then I start to add materials for the all the objects by changing the base colors for each.

Figure 11: Adding color materials for all the objects
Some of the panels in the reference photo resembled a glowing effect so I used emission to change the color to light blue and made the emission strength to 20.

Figure 11: Adding emission
Lighting Phase
As for the lighting, the overall model looks dark. So I added 3 different lights to brighten the environment. I used 1 point light in the kitchen to resemble a ceiling light and changing the color to blue with the power 101.8 Watt.

Figure 11: Adding point light in kitchen
Then I used 1 point light in the middle of the model.

Figure 12: Adding point light
Another 1 spot light facing directly towards the model to brighten the model with the power of 114.6 Watt with the basic white color.

Figure 13: Adding spot light
By creating the shadow, I added 1 sun light on top with 2.390 strength

Figure 13: Adding sun light
Final Result (Rendered)
The final output of my model is as shown below with added materials and lighting.

Figure 14: Front View

Figure 14: Side View
Comments
Post a Comment